Page Contents
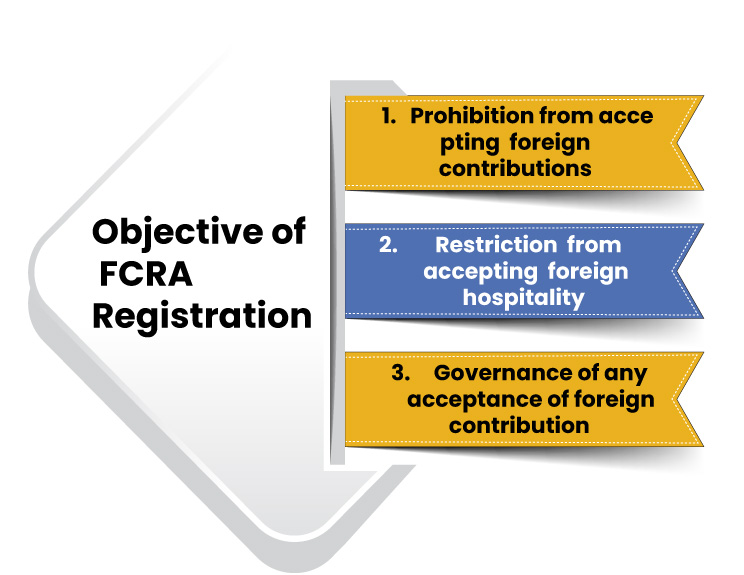
The Foreign Contribution Regulation Act, or FCRA, is a law that controls and regulates international contributions made within India.
Any registered trust, society, agency, organization, or NGO must obtain or receive an FCRA Registration Certificate granted by the government authority to procure or receive any international donation or foreign grants.
FCRA certification is acquired by any non-profit organization, section 8 corporation, trust, or community. As a result, they will be able to access any of the organizations mentioned below for donation purposes.
If you want to take all of these advantages, then contact us for FCRA online service and get your FCRA registration number instantly.
Basically, FCRA registration is divided into two categories. You must be familiar with both so that you can quickly determine which one is needed-
This form is for a newly recognized organization seeking financial assistance from other countries and outlets. As a result, there are certain minimum standards, which are as follows:
To be eligible for FCRA certification, an entity or trust must satisfy all of the criteria mentioned below:
Note: This does not include operating costs.
The following organizations are eligible to apply for FCRA registration:
Several other considerations must be made during FCRA registration. Meeting for any eligibility will determine whether or not the company is eligible to receive the benefits. Save money on taxes, for example.
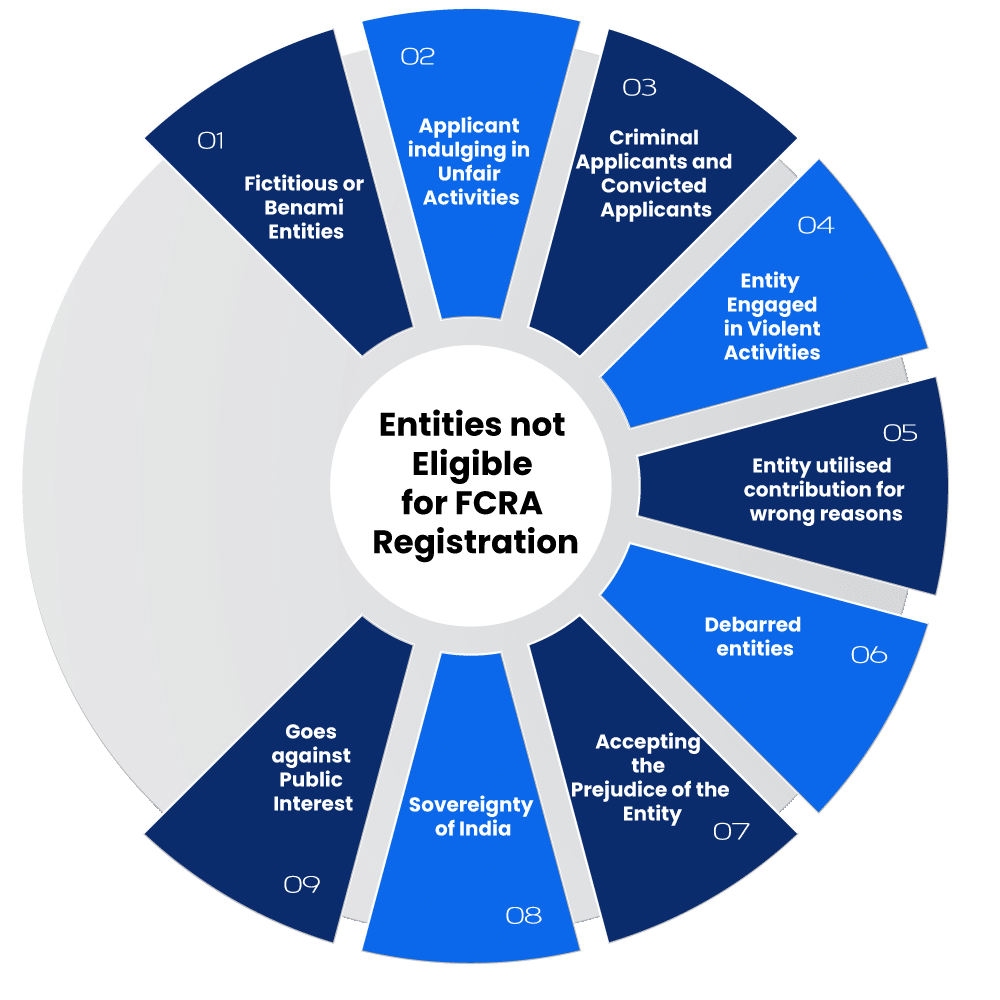
The following applicants are not eligible for FCRA registration:
The following documents are required for apply FCRA Registration:
Step-1: To begin, go to the FCRA’s online portal.
Step-2: To register with FCRA, go to ‘FCRA online forms.’
Step-3: Pick the application for the FCRA registration link on the next screen. This link will take you to the next tab.
Step-4: To apply for FC3, click the ‘Click to apply online’ tab (Registration).
Step-5: You must register with FCRA by selecting the sign-up option. The link will redirect you to the next post.
Step-6: Fill in all compulsory information and save the details filed up.
Step-7: As you press Save, a message appears on the screen that says, ‘User ID successfully developed and your user ID is:’
Step-8: Enter your User ID and password to access the portal.
Step-9: Pick FCRA registration from the drop-down menu under the option “I am applying for.” Apply online by clicking on the link.
Step-10: To complete the registration process, click here to start a new registration.
Step-11: In the title bar, click FC3 Menu for a step-by-step registration procedure.
Step-12: From the menu, choose Association Information. The detail type for the organization will be shown. Fill in all of the necessary information mentioned below.
Step-13: To save information, click the submit button.
Step-14: Choose the Executive Committee option from the menu bar to access the Executive Committee Form.
Step-16: Fill in all of the information about the Executive Committee.
Step-17: Select ‘Add details of Key Functionary,’ and then edit/delete/add Details of Executive Committee Information.
Step-18: To add more foreign details, check the box next to the record you want to edit and then press the Add/View button.
Step-19: A new screen will appear; fill in the relevant foreign details. By selecting the required choice, you can Edit/Delete a Record.
Step-20: Fill in the EC and other details. Choose this choice from the drop-down menu.
Step-21: After entering all of the EC’s mandatory details, click Save.
Step-22: Enter your bank details, such as the name of the bank, the IFSC code, the account number, and the bank’s address.
Step-23: From the menu, choose Other Details to enter some additional information.
Step-24: In PDF format, you must upload all related documents.
Step-25: From the menu bar, choose the final submission. You must fill out the application form, type the location and date, and then press the final send button.
Step-26: Once you’ve actually uploaded, a pop-up window will appear; press OK.
Note: after you’ve submitted your application, you won’t be able to change any of the details.
Step-27: The payment screen will appear after pressing the Make Online Payment button in the menu bar.
Step-28: On this page, click the Continue for the Payment button, and a new screen will appear. Tap on payment after selecting the payment gateway.
Popular article :
All about GST on event entry tickets—recreational, cultural & sporting services Meaning of Recreational, Cultural & Sporting Services (SAC 9996)… Read More
Recent Amendments to FIU‑IND Regulations: What Businesses Need to Know Why the Amendments Were Introduced With the rapid rise of… Read More
All about Financial Intelligence Unit – India registration in 2026 With rising scrutiny over digital assets, cross‑border payments, and fintech… Read More
TDS & TCS Changes (Effective from 1 April 2026): Budget 2026 The Indian Financial Budget 2026 introduces a major overhaul… Read More
What is a Digital Signature Certificate (DSC)? A Digital Signature Certificate (DSC) is an electronic form of identity proof, similar… Read More
Comparison Matrix: Stock Transfer vs. Branch Transfer under GST A Technical Analysis for Multi-Registration Businesses GST fundamentally changed the tax… Read More